前言
现网的一些业务节点,使用了 uptime 进行监控 https://blog.qc7.org/archives/uptime-kuma-monitor
从监控可以了解业务的健康情况,并且 uptime 也是支持通知送达的
在业务异常的时候触发消息送达,从而让维护人员能够快速的响应处理
uptime 几乎支持所有的现存的通知类型,这里以 gotify 进行调研部署
通知原理
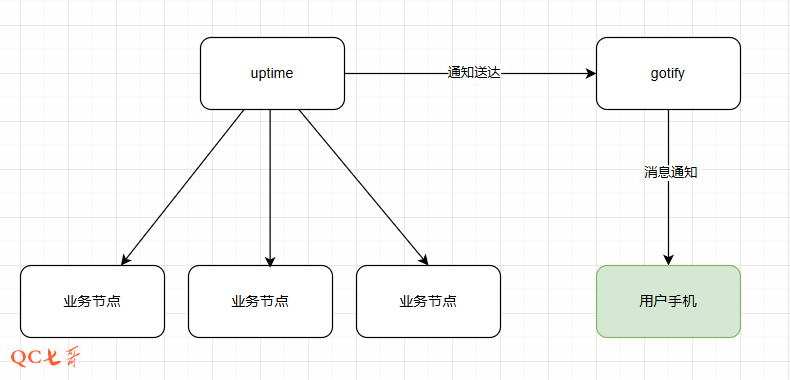
通知原理就是 uptime 服务,会持续的对业务节点进行心跳检测
当发现业务异常的时候,将会触发一个通知送达到 gotify
然后 gotify 把该通知消息同步给用户的手机,从而实时了解业务健康,gotify 的手机端目前仅支持 android
gotify部署
gofity 是开源免费的消息通知应用,使用 go 开发,官网地址 https://github.com/gotify/server
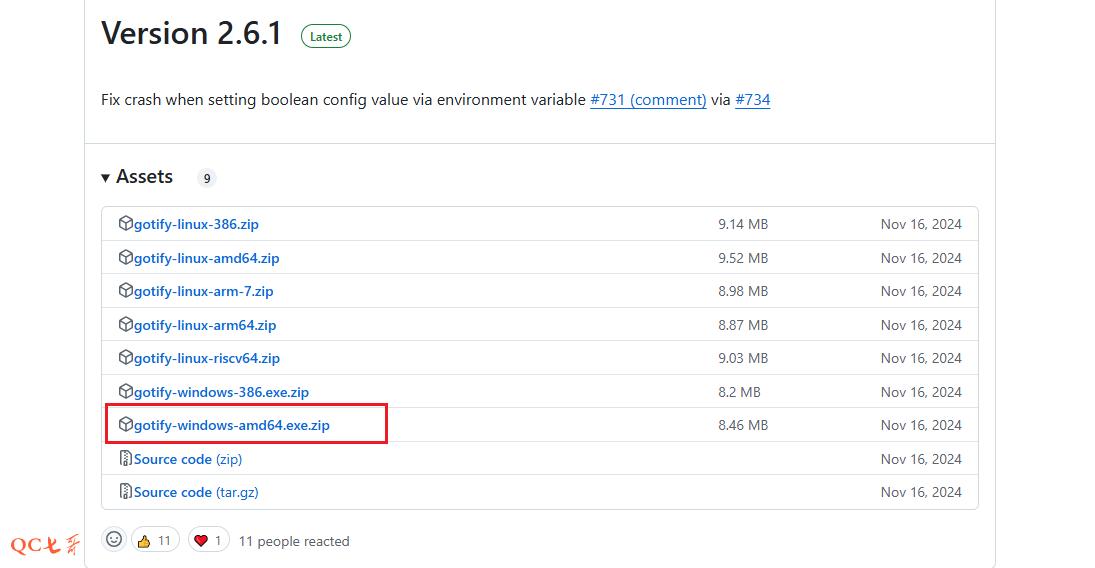
这里以 windows 的版本进行部署,下载最新的安装包 https://github.com/gotify/server/releases
gotify设置
下载后解压,只有一个执行文件,默认监听 80 端口
可以通过配置文件指定监听端口,默认会查找相同目录下的 config.yml 文件
完整的配置可以参考官方手册 https://gotify.net/docs/config
server:
  keepaliveperiodseconds: 0 # 0 = use Go default (15s); -1 = disable keepalive; set the interval in which keepalive packets will be sent. Only change this value if you know what you are doing.
  listenaddr: '' # the address to bind on, leave empty to bind on all addresses. Prefix with "unix:" to create a unix socket. Example: "unix:/tmp/gotify.sock".
  port: 80 # the port the HTTP server will listen on

  ssl:
    enabled: false # if https should be enabled
    redirecttohttps: true # redirect to https if site is accessed by http
    listenaddr: '' # the address to bind on, leave empty to bind on all addresses. Prefix with "unix:" to create a unix socket. Example: "unix:/tmp/gotify.sock".
    port: 443 # the https port
    certfile: # the cert file (leave empty when using letsencrypt)
    certkey: # the cert key (leave empty when using letsencrypt)
    letsencrypt:
      enabled: false # if the certificate should be requested from letsencrypt
      accepttos: false # if you accept the tos from letsencrypt
      cache: data/certs # the directory of the cache from letsencrypt
      hosts: # the hosts for which letsencrypt should request certificates
  #     - mydomain.tld
  #     - myotherdomain.tld
  responseheaders: # response headers are added to every response (default: none)
  # X-Custom-Header: "custom value"
  trustedproxies: # IPs or IP ranges of trusted proxies. Used to obtain the remote ip via the X-Forwarded-For header. (configure 127.0.0.1 to trust sockets)
  #   - 127.0.0.1
  #   - 192.168.178.0/24
  #   - ::1

  cors: # Sets cors headers only when needed and provides support for multiple allowed origins. Overrides Access-Control-* Headers in response headers.
    alloworigins:
    # - ".+.example.com"
    # - "otherdomain.com"
    allowmethods:
    # - "GET"
    # - "POST"
    allowheaders:
  #   - "Authorization"
  #   - "content-type"

  stream:
    pingperiodseconds: 45 # the interval in which websocket pings will be sent. Only change this value if you know what you are doing.
    allowedorigins: # allowed origins for websocket connections (same origin is always allowed, default only same origin)
#     - ".+.example.com"
#     - "otherdomain.com"
database: # see below
  dialect: sqlite3
  connection: data/gotify.db
defaultuser: # on database creation, gotify creates an admin user (these values will only be used for the first start, if you want to edit the user after the first start use the WebUI)
  name: admin # the username of the default user
  pass: admin # the password of the default user
passstrength: 10 # the bcrypt password strength (higher = better but also slower)
uploadedimagesdir: data/images # the directory for storing uploaded images
pluginsdir: data/plugins # the directory where plugin resides (leave empty to disable plugins)
registration: false # enable registrations
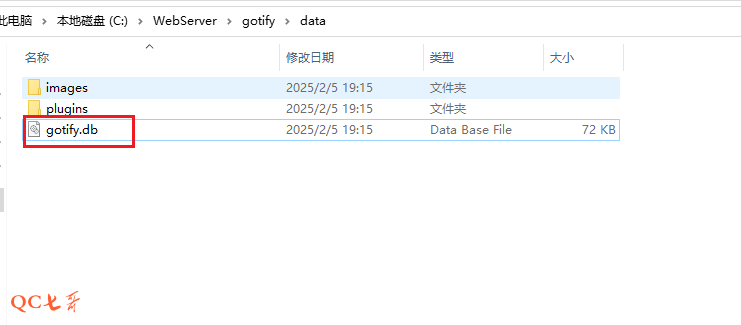
根据实际情况进行配置修改,将配置文件保存为 config.yml 后,双击执行文件启动服务
服务默认使用 sqlite 存储数据,会在 data 目录下生成一个 gotify.db 的数据库文件
使用浏览器打开 http://192.168.10.210/ , 地址是运行 gotify 服务的机器 ip 地址
使用 admin/admin 进行登录,该账号可以在 config.yml 文件中配置的
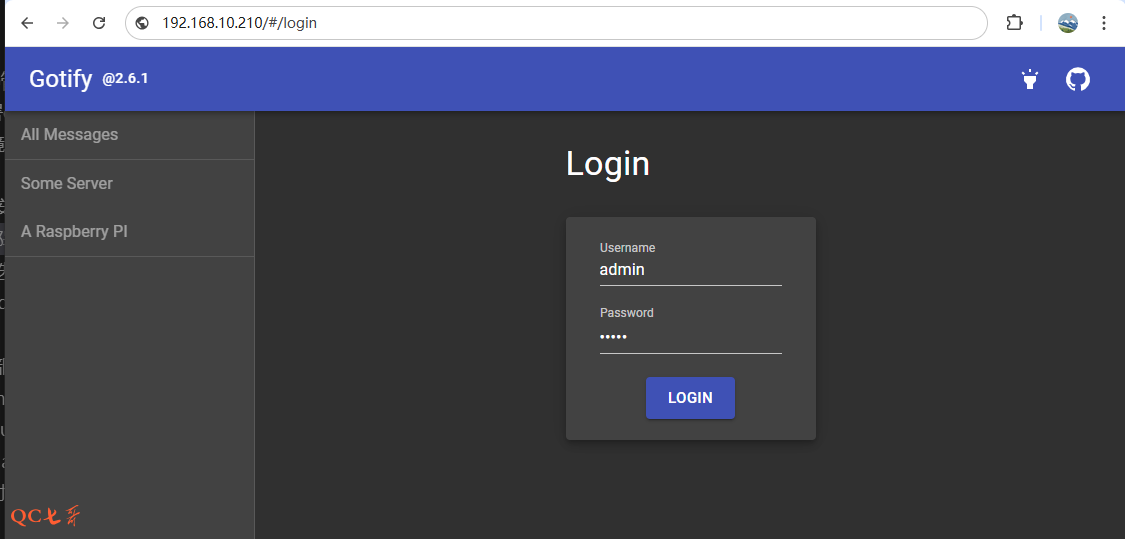
登录后 web 显示的页面如下,目前还没有进行通知配置
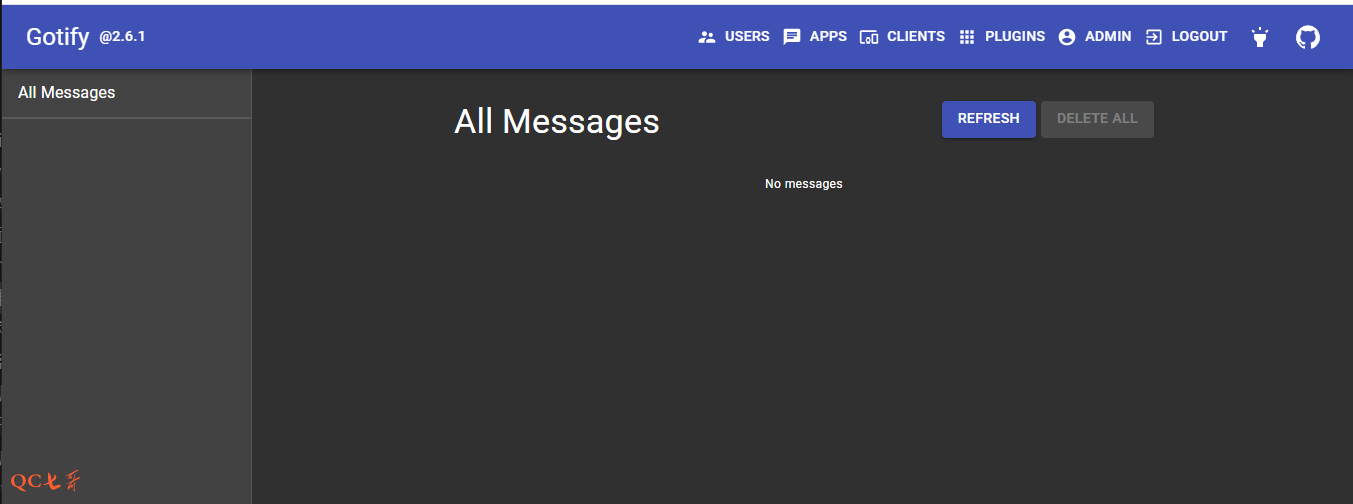
创建应用
在上面的 gotify 的显示页面中,有两部分 APPS 和 CLIENTS,需要配置这两部分以便实现消息通知
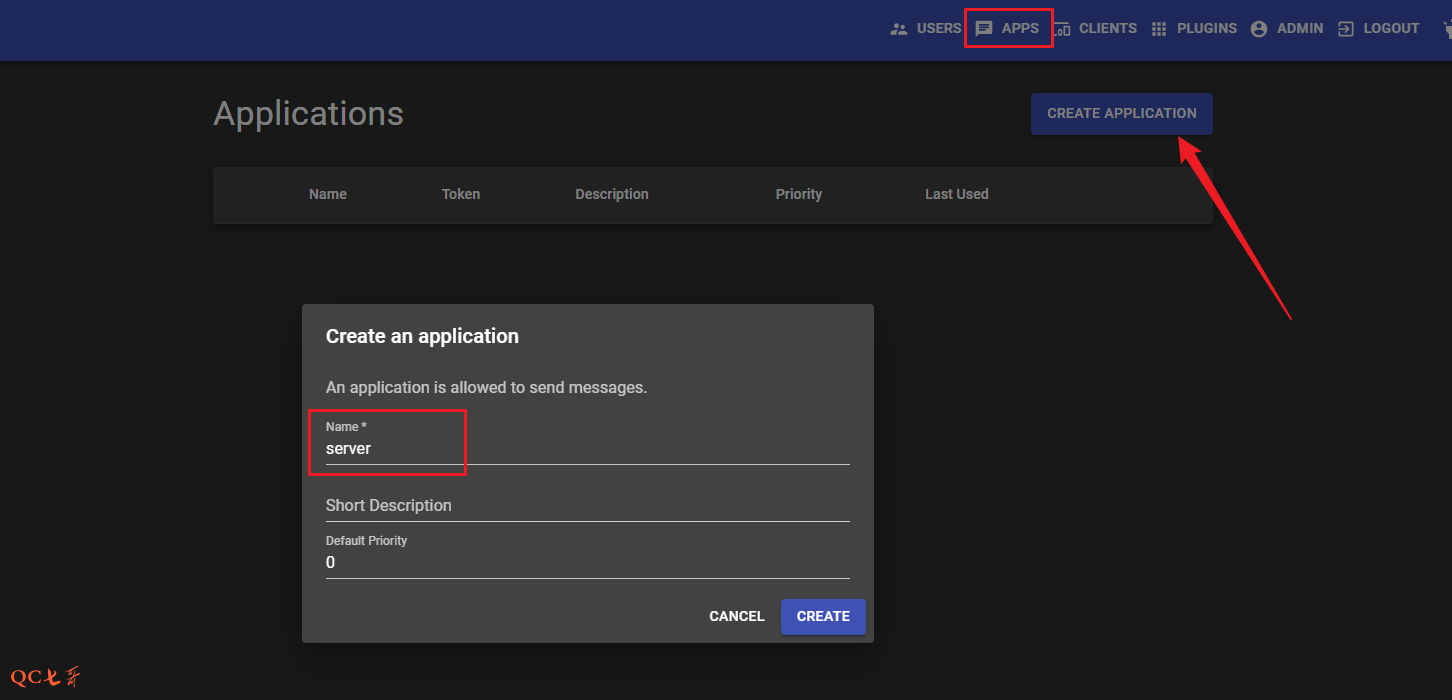
点击 APPS -> CREATE APPLICATION ,然后输入应用名如 server 创建应用
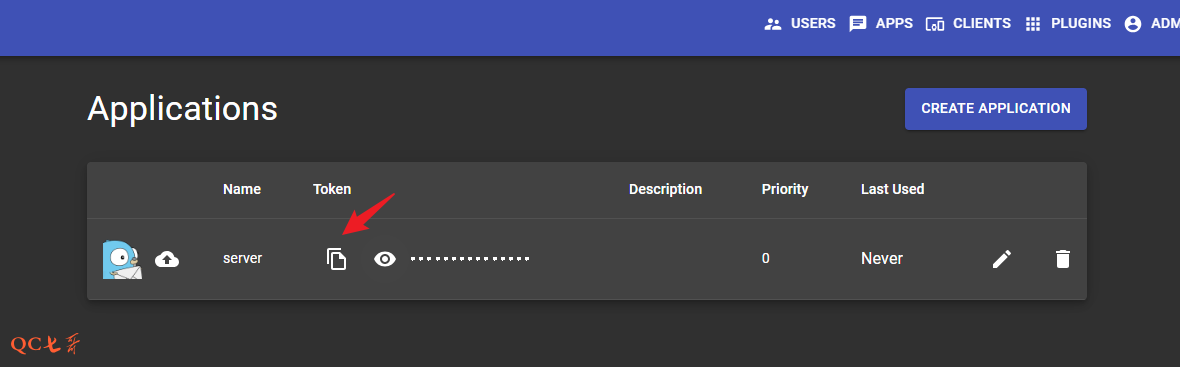
创建应用后,在应用列表中,点击复制 token,一会在 uptime 服务中需要用到
uptime配置
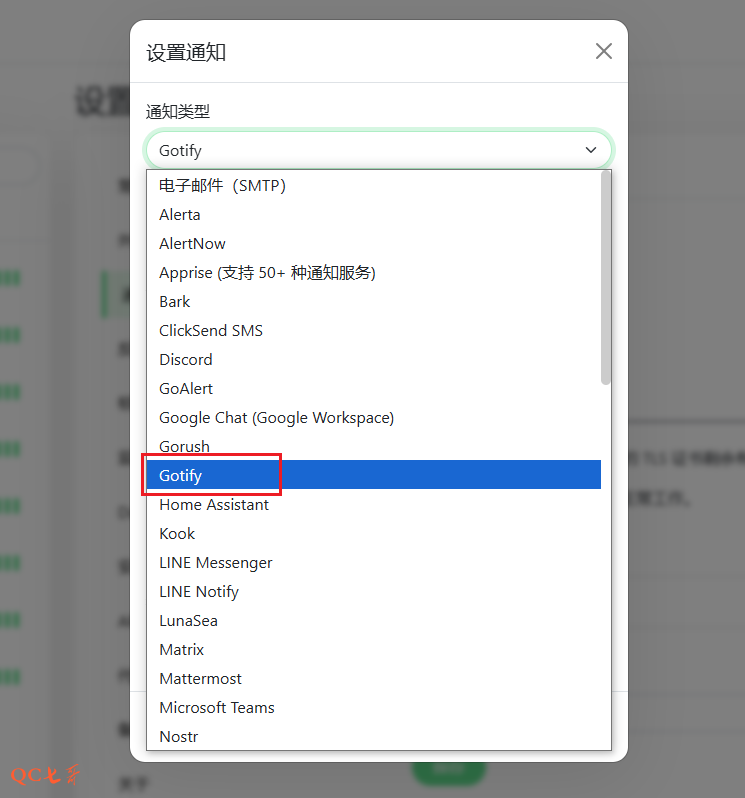
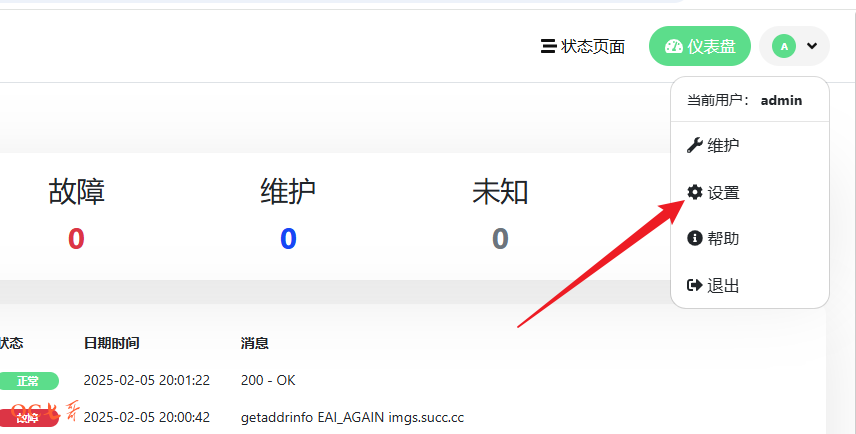
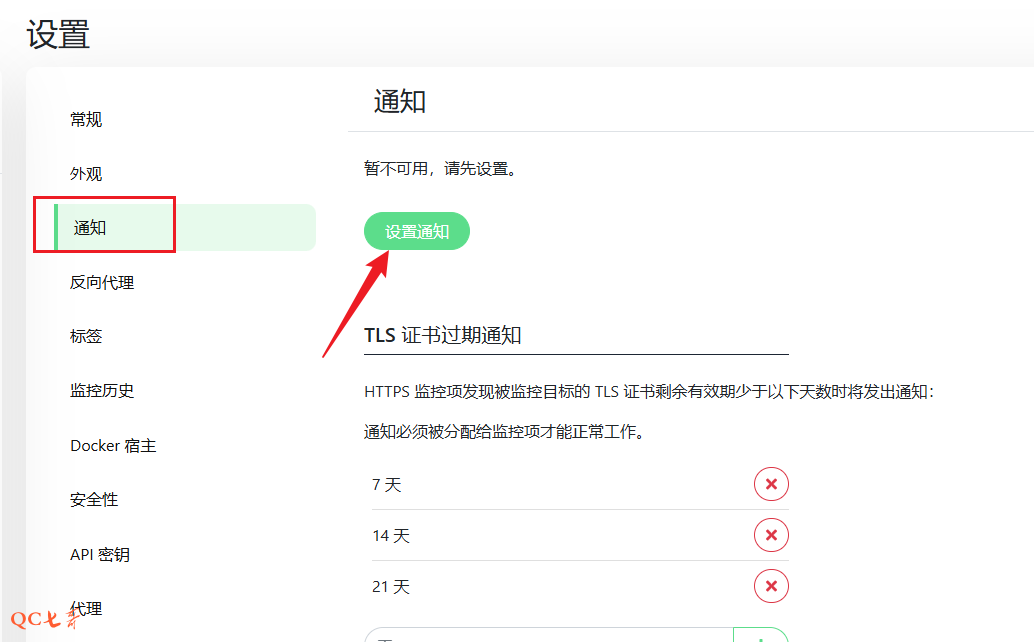
在 uptime 的管理后台,admin 用户的菜单中点击 设置,然后设置页面,点击通知 -> 设置通知
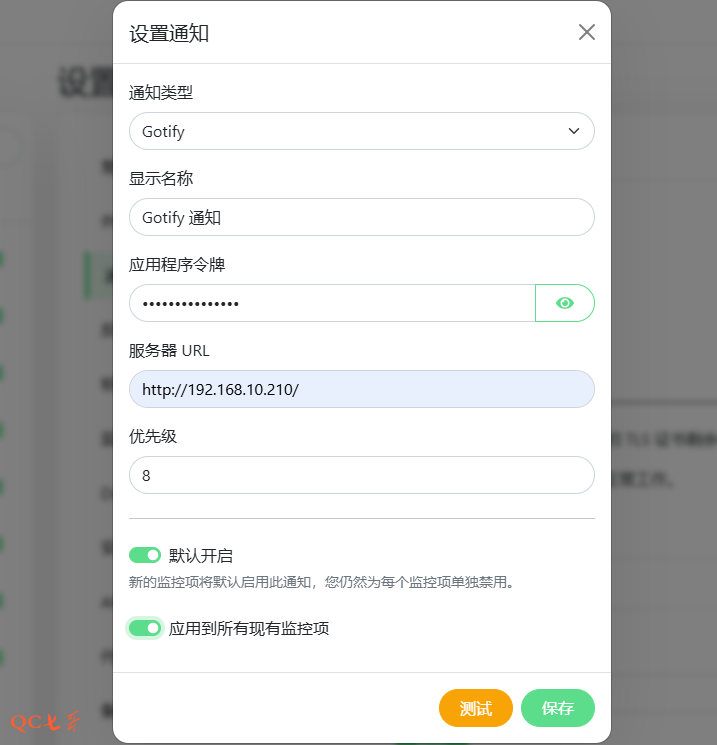
在设置通知页面,选择通知类型为 Gotify,应用令牌为刚复制的 token,还有 gotify 服务的地址
然后将 默认开启,应用到所有现有监控项 这两个项开启,保存生效
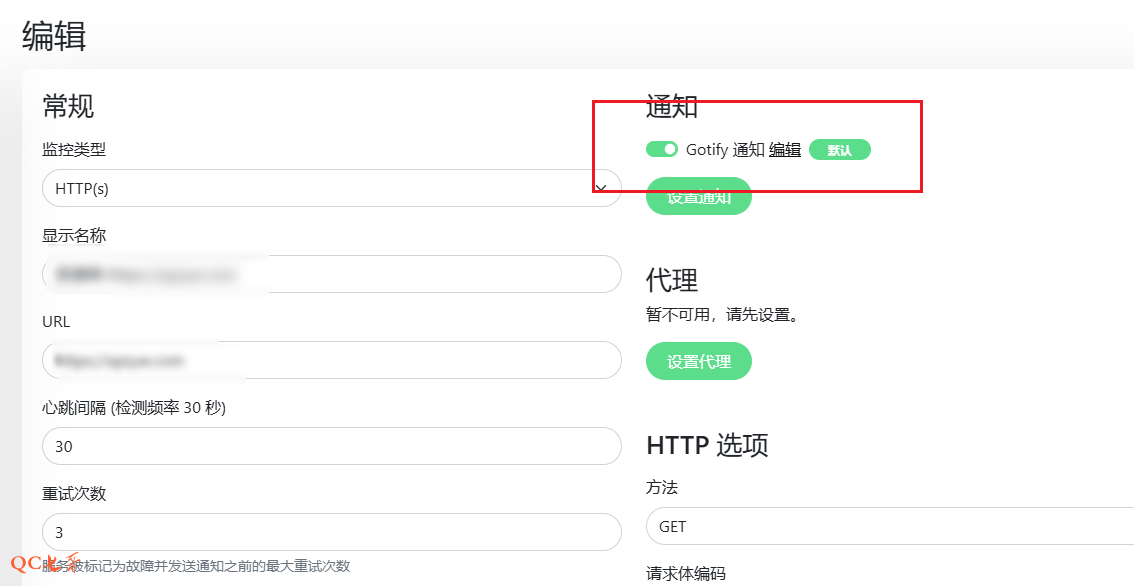
点击一个已有的监控项,点击 编辑,查看监控项的配置信息,可以发现已经自动开启了 Gotify 通知
测试通知
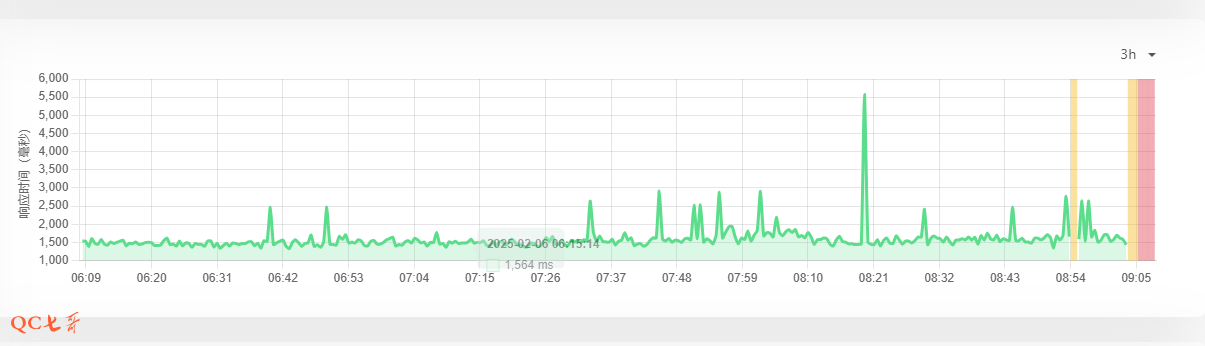
上面已经将 uptime 和 gotify 的环境配置好了,现在来测试一下业务异常的情况,gotify是否能正常收到消息
关闭业务,从 uptime 的监控看,业务已经异常
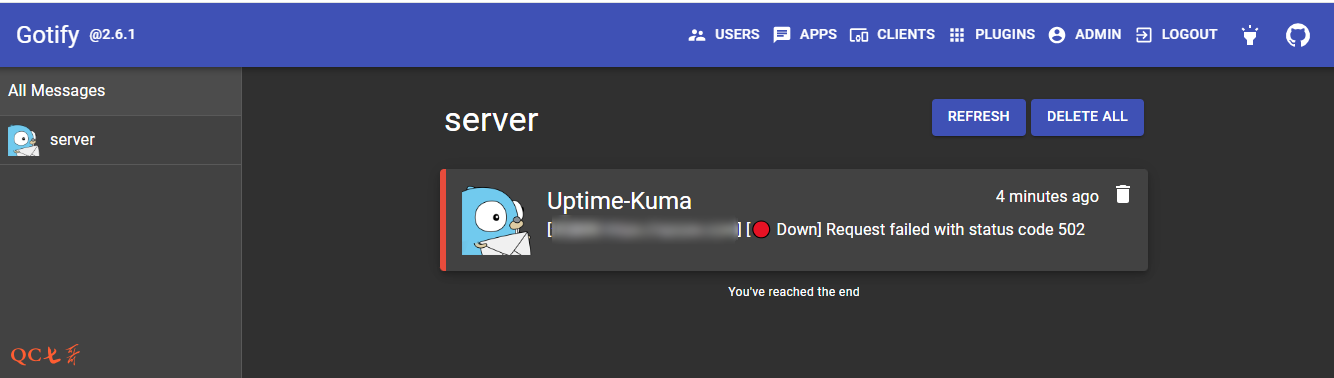
回到 gotify 的 web 页面,点击左侧的 server ,右侧可以看到接收到了一个通知消息
手机部署
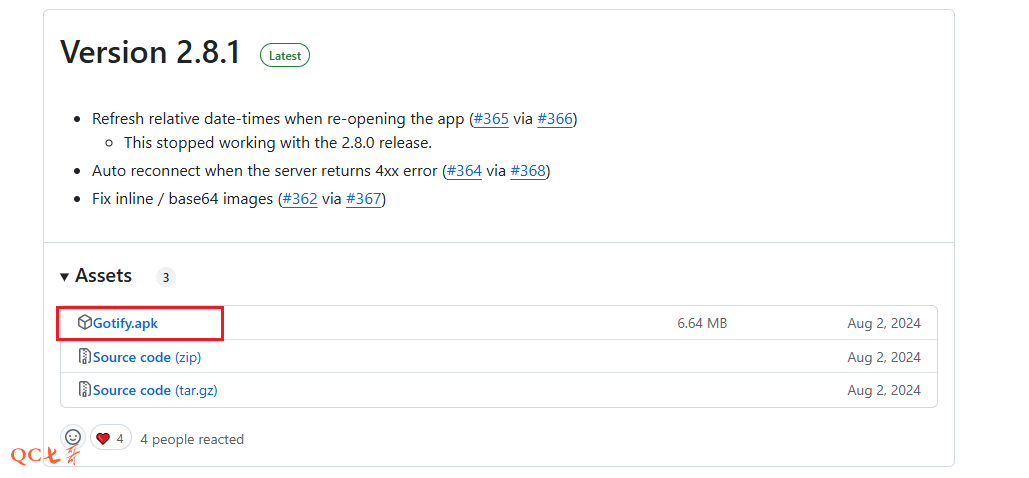
gotify 支持 android 设备的消息推送,官方地址 https://github.com/gotify/android
从 release 中下载 apk 安装包
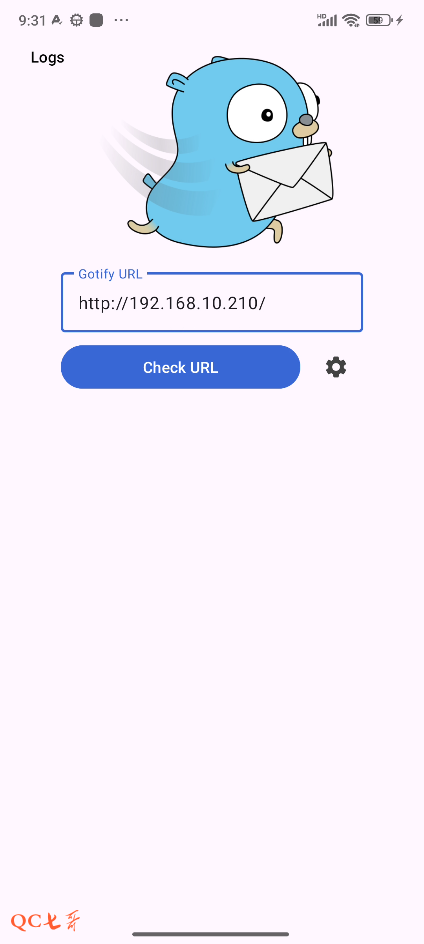
手机安装 apk 后启动应用,输入服务的 url 地址以及 admin 账号密码登录,操作和 web 类型
登录后在 app 的页面上,也可以看到刚才触发的异常消息
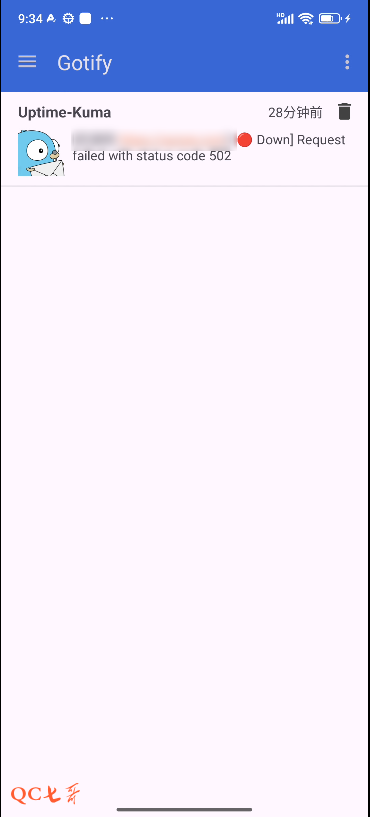
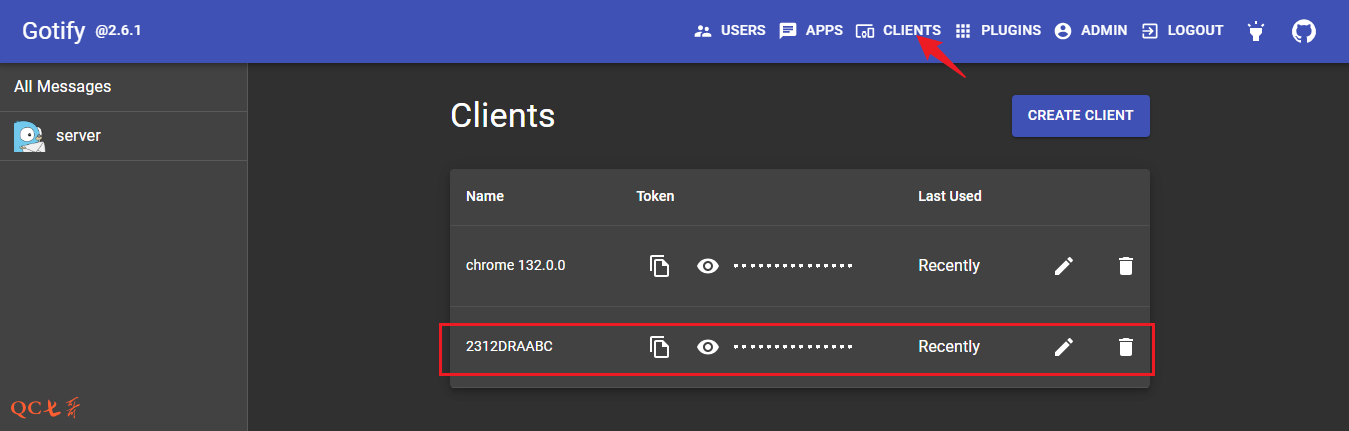
在 web 端的也可以看到 client 列表中多了一个设备,就是刚连接上的手机设备
将刚才异常的业务恢复,手机上又会收到一条业务恢复的通知消息
